


.svg)


Key Steps in Installing a Wall-Hung Toilet
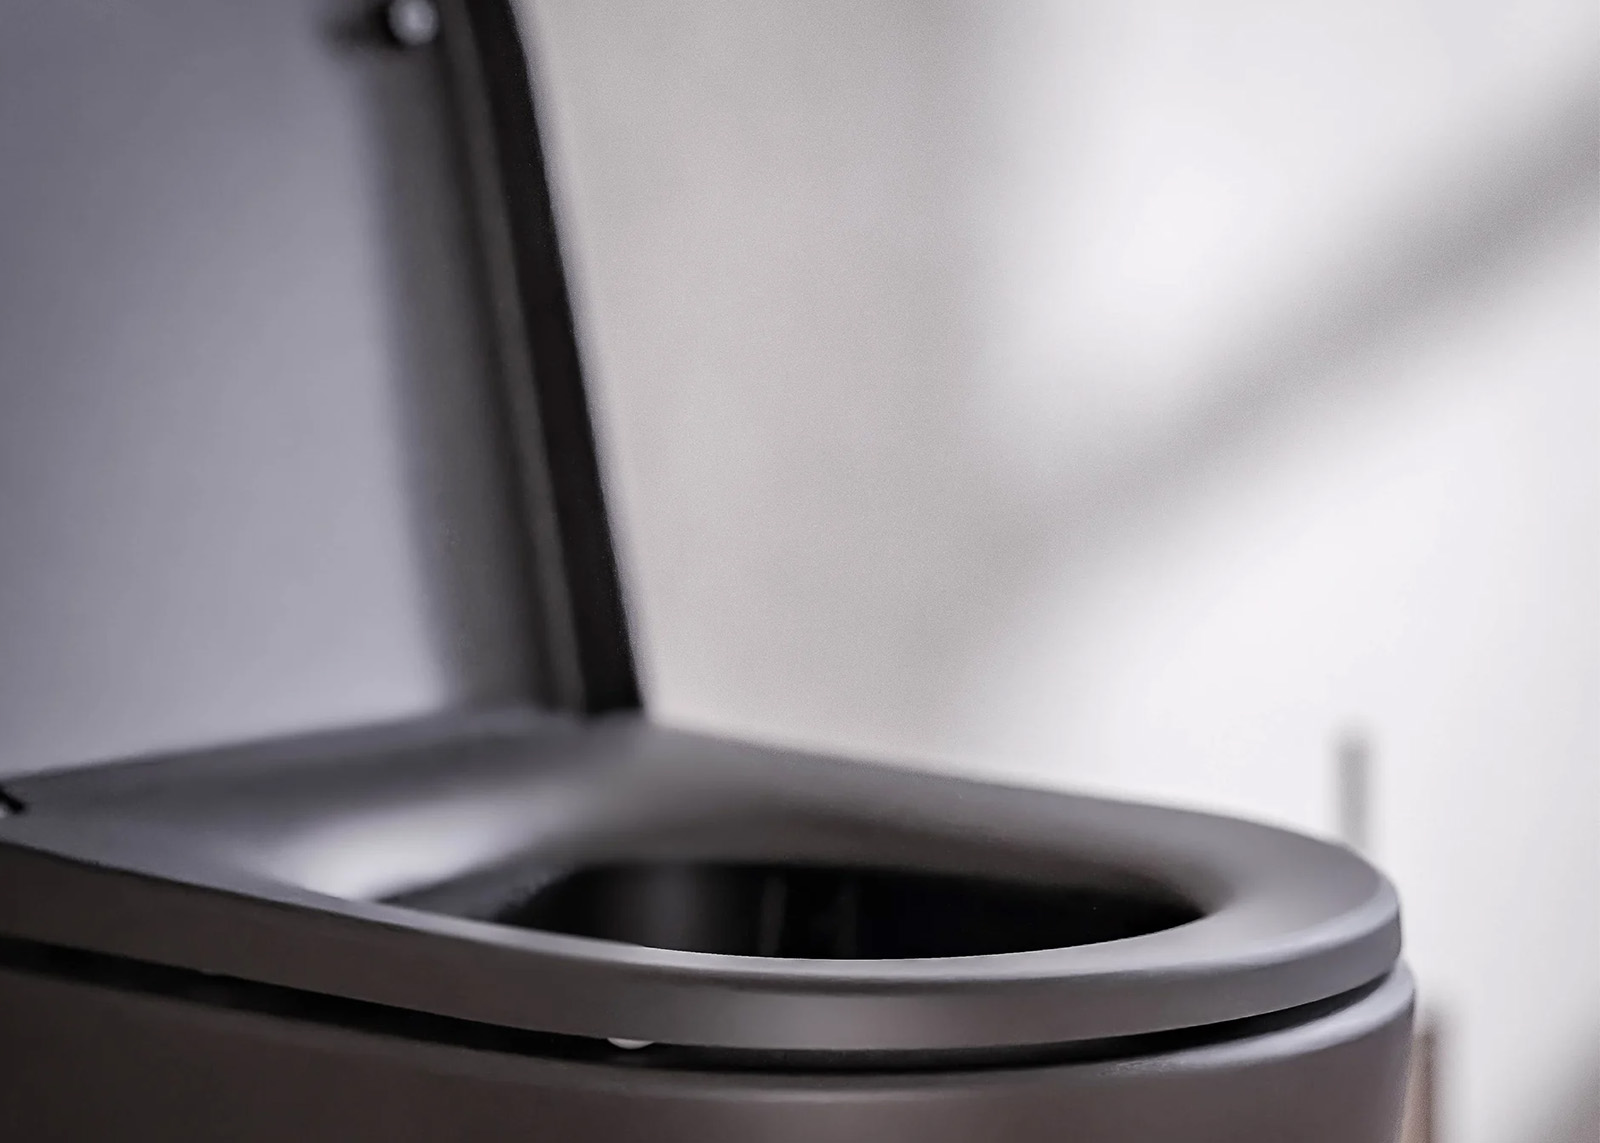
Installing a wall-hung toilet is becoming increasingly common in our modern bathrooms. Combining aesthetics and practicality, they continue to win us over. However, their installation requires certain techniques and special care. Fancy new toilets in your bathroom? Here are the essential steps for their installation.
Prepare Your Installation Space
Before starting the installation of your wall-mounted WC, it is essential to properly prepare your workspace. Ensure the bathroom is spacious enough to accommodate your toilet's frame and that the wall on which you plan to install it is solid enough to bear the weight of the unit.
It is also important to ensure that the water drainage is correctly positioned and within reach of the toilet's drain pipe. Finally, check the dimensions of the toilet bowl to ensure it fits perfectly in your bathroom.
Installing the Support Frame
The support frame is the metal structure that will be fixed to the wall and will support the toilet bowl. It also includes the water tank and the flushing mechanism. Therefore, it's crucial to install it correctly.
Start by assembling the support frame according to the provided instructions. Once assembled, you can fix it to the wall using suitable screws and plugs. Ensure it is perfectly level and solid before proceeding.
Do not forget the sanitary modules suitable for wall-hung toilets with compatible flush plates.
Fixing the Toilet Bowl
After installing the support frame, you can proceed with fixing the toilet bowl. This is a delicate step that requires precision.
The bowl must be fixed onto the support frame using the provided screws and washers. Tighten the screws well to ensure the stability of the bowl. Check the level of the bowl again before continuing.
Installing the Flush System and Connection
The next step involves installing the flush system and connecting the drainage and water supply pipes. You will also need to install the flush button.
The drainage pipe must be connected to the existing water outlet. The water supply pipe, on the other hand, should be connected to the water tank. Ensure all connections are watertight to avoid any risk of leakage.
Finishing the Wall-Hung Toilet
The final step in installing your wall-hung toilet is finishing. This involves covering the support frame and the drainage and water supply pipes for an aesthetic look.
The finishing can be done with plasterboard, wood, or any other material of your choice. It must be fixed around the support frame and cut carefully to leave access to the flush button.
Installing a wall-hung toilet can be technical, but by following these key steps, you can complete this project yourself. However, if you encounter any difficulties, do not hesitate to call a professional. This way, you'll enjoy a perfectly installed and secure wall-hung toilet.
How to Choose Your Wall-Hung Toilet?
To achieve the best possible result during the installation of your wall-hung toilet, it's crucial to pay attention to the choice of accessories that will complete the set. These accessories include notably the flush plate, the seat, and the toilet bowl lid.
The flush plate is the element you will use to activate the flush; we offer them directly with our support frames available in our store. It should be chosen based on its design, color, and compatibility with the flush mechanism of your support frame.
The choice of seat and toilet lid is important. They must be comfortable, durable, and easy to clean. They can be made of plastic, wood, with or without a soft-close mechanism. The soft-close mechanism allows the lid to close gently without making noise.
Also, make sure to choose quality threaded rods to fix the support frame to the wall and the floor. They must be corrosion-resistant and long enough to go through the wall and floor.
Precautions to Take During Installation
The installation of wall-hung toilets should not be taken lightly. Certain precautions must be taken to ensure a safe and durable installation.
The first precaution concerns the fixing of the support frame. Use a spirit level to ensure that the support frame is perfectly horizontal and vertical. Poor fixing can lead to instability of the bowl and drainage problems.
Moreover, when connecting the drainage and water supply pipes, make sure that the drainage pipe is inclined enough to allow water to flow correctly. A poorly inclined pipe can cause drainage problems and unpleasant odors.
Finally, when finishing the support frame, ensure easy access to the water tank. It may be necessary to replace the flush mechanism or repair a leak in the future.
Conclusion
Installing a wall-hung toilet requires attention to detail, patience, and some technicality. It's crucial to properly prepare your workspace, choose the right accessories, and follow the instructions provided for installation carefully.
Do not forget to take the necessary precautions, especially in terms of fixing the support frame, connecting the pipes, and installing the finishing.
By following these steps and considering these tips, you will enjoy your new wall-hung toilets in your bathroom, combining aesthetics, comfort, and practicality. However, if you are not comfortable with this type of work, it is recommended to call a professional to ensure a secure and durable installation.